6 Expert Steps to Master Ring Stacking: The Ultimate Guide
Table of Contents
Let’s be real — the first time most of us tried ring stacking, we just grabbed a handful of rings, shoved them on our fingers, and hoped for the best. Spoiler: it looked like we’d raided a vending machine. But ring stacking done right? It’s one of the most expressive, personal, and downright gorgeous ways to wear jewelry. And once you know the rules, you’ll wonder how you ever lived without a perfectly curated stack on your hand.
This guide breaks down the 6 essential steps that will take your ring stacking game from chaotic to chef’s kiss — whether you’re starting fresh or trying to make sense of the rings already sitting in your jewelry box.


What Is Ring Stacking, Anyway?
Ring stacking is simply the practice of wearing multiple rings on a single finger. Sounds simple enough, right? But here’s the thing — there’s a massive difference between throwing on three random bands and actually styling a stack. The combinations are genuinely endless, but not every ring plays nicely with others. Some combos risk metal abrasion, diamond chipping, or just a general “what happened there?” vibe. That’s exactly why these steps exist.
Ready to get into it? Let’s go.
Step 1: Decide on Your Balance
How Many Rings Are We Talking?
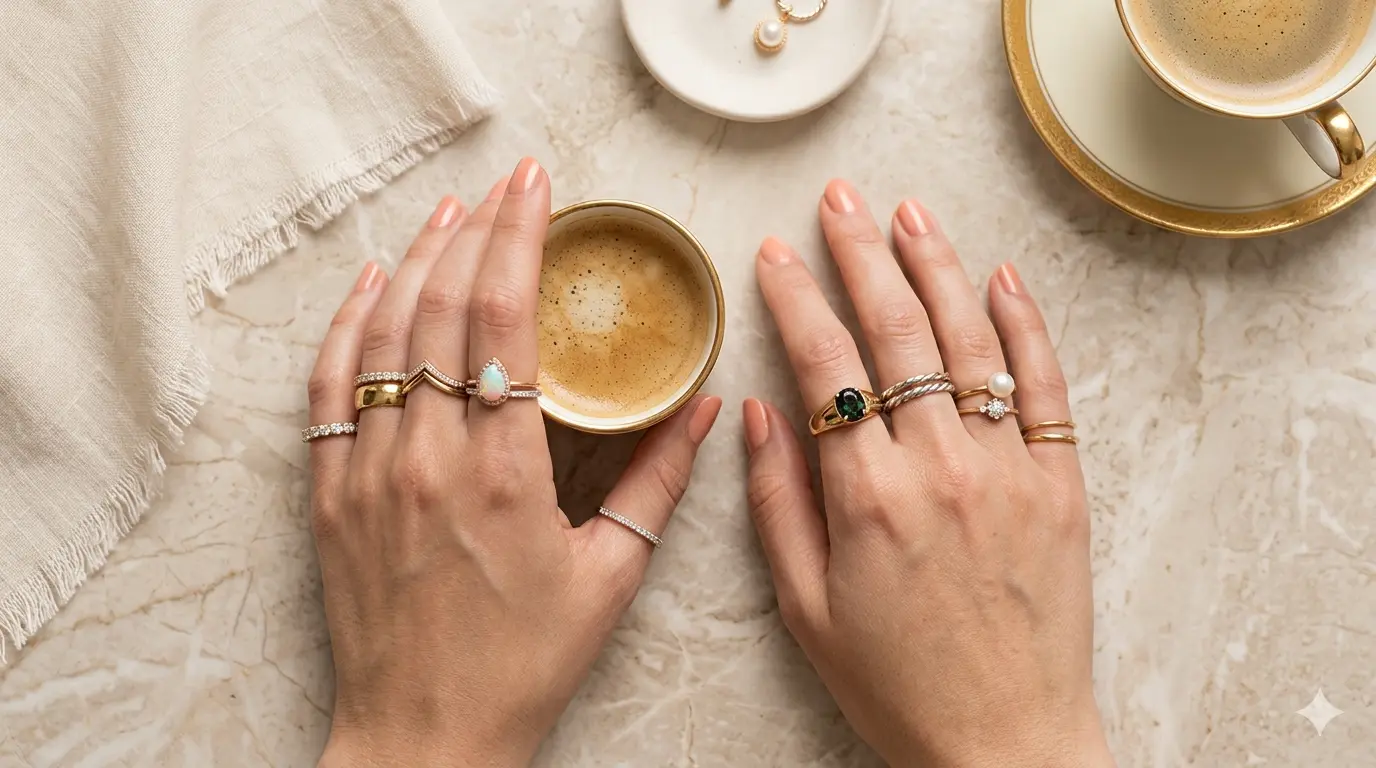
Before you touch a single ring, take a step back and think about the overall look you want. How many rings do you want to wear, and on which fingers? This is honestly the most freeing part of ring stacking because there’s no hard rule — but there are some guidelines that make a real difference.
Most people land somewhere between two and four rings per finger. Go below that and it barely registers as a stack; go above it and things can start looking more “Liberace concert” than “intentional fashion choice.” Both valid aesthetics, to be fair. 🙂
Here’s a tip that stylists swear by: stack rings on an uneven number of fingers. One, three, or five fingers create natural visual symmetry across your hand. It sounds counterintuitive, but an uneven number of stacked fingers actually looks more balanced than, say, two symmetrical stacks sitting side by side. Your eye naturally fills in the negative space.
- Minimal stack: 2–3 rings on one finger
- Moderate stack: 2–4 rings across three fingers
- Statement stack: 3–5 rings across multiple fingers

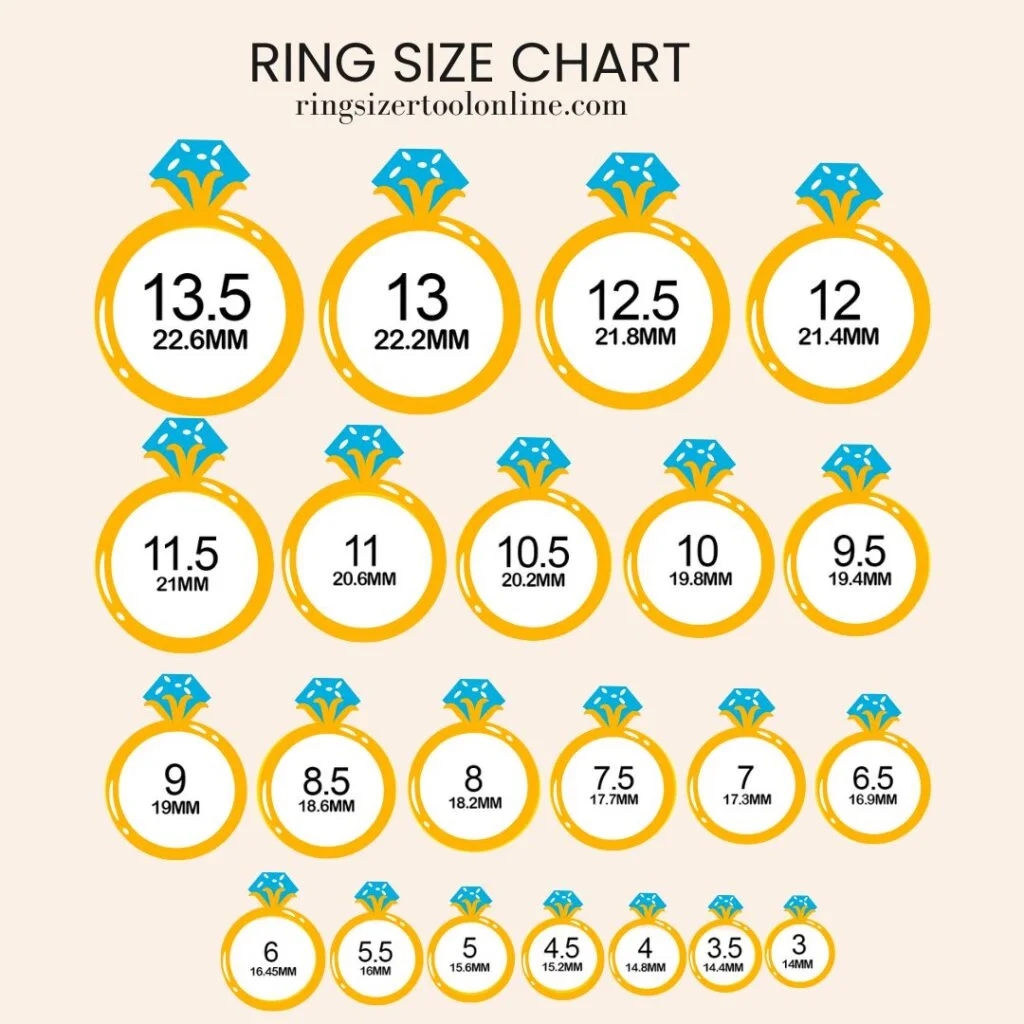
Step 2: Choose the Right Ring Sizes
Fit Is Everything — No, Seriously
IMO, this is the step most people completely skip, and it causes so many problems. Proper fit is the most critical part of ring stacking, full stop. When you add multiple bands to a single finger, the combined width makes the jewelry feel tighter than any single ring would. It’s just physics.
If you’re planning to stack bands that are 2mm or wider, you’ll likely need to size up by at least half a size. Don’t skip this step because getting your fit wrong creates a genuinely uncomfortable experience — and a look that stylists call the “muffin top” effect, where your finger bulges slightly over the bands. Nobody wants that.
Here’s how to get sizing right for a stack:
- Try on your intended stack together before committing to a purchase
- Size up half a size for bands 2mm and wider
- Check the fit mid-day — fingers swell slightly in the heat, so what fits perfectly in the morning might feel snug by afternoon
- Opt for slightly wider bands on your dominant hand since that hand tends to run slightly larger
A ring that fits beautifully on its own can feel like a tiny torture device when stacked with two friends. Size thoughtfully.
Step 3: Pick a Common Theme
Your Stack Needs a Story
Here’s where ring stacking goes from “I just own a lot of rings” to “I clearly have taste.” A cohesive stack almost always has a common thread running through it — something that ties the pieces together visually, even if the individual rings look quite different.
That common thread could be:
- A matching diamond shape (all round, all oval, all pear, etc.)
- A consistent metal color (all gold, all silver, all rose gold)
- A specific style (all vintage, all minimalist, all Art Deco)
- A recurring design element (milgrain detailing, twisted bands, bezel settings)
The key is to build your theme around a “base” ring — your primary, most important piece that anchors the whole stack. Think of it like decorating a room: you pick your statement sofa first, then you find cushions and accessories that complement it. Your base ring is that sofa. Every other ring in your stack should feel like it belongs in the same room.
FYI, you don’t need to match everything exactly. A stack where everything is perfectly identical actually looks a bit flat. The goal is complementary, not identical.
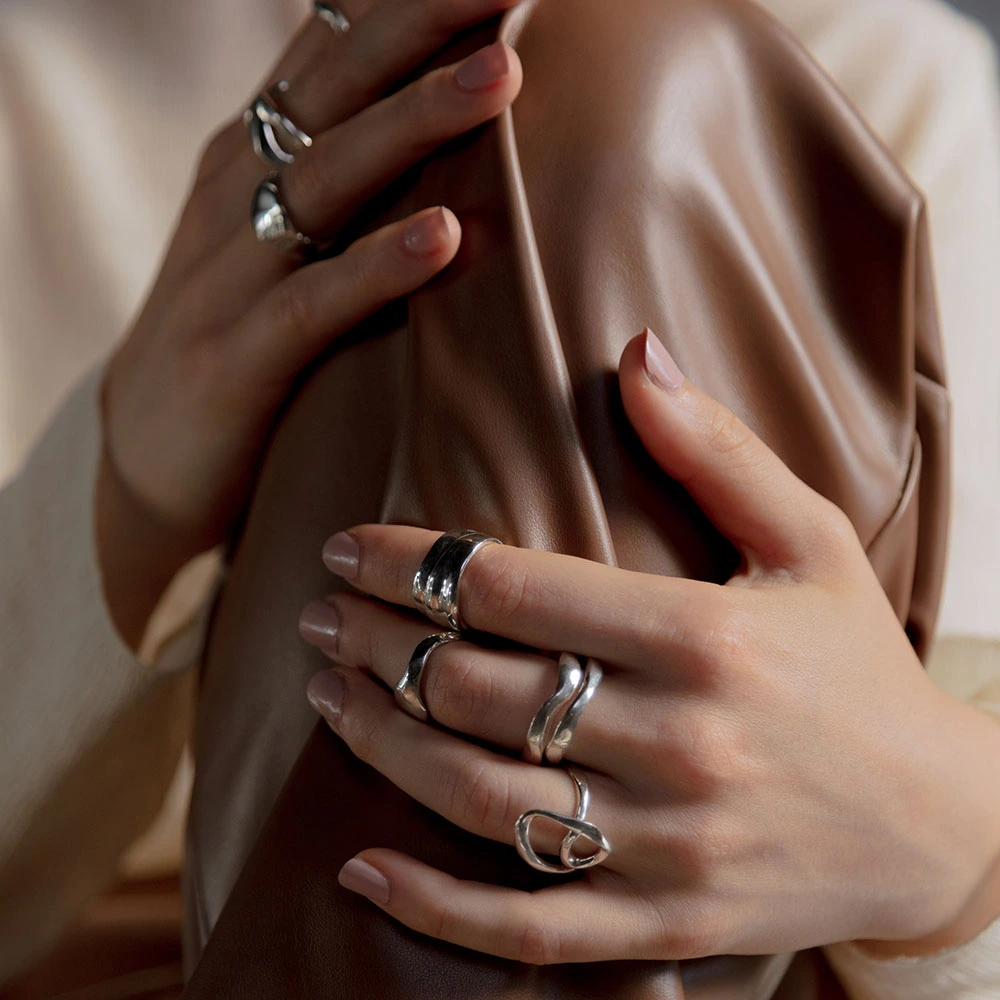
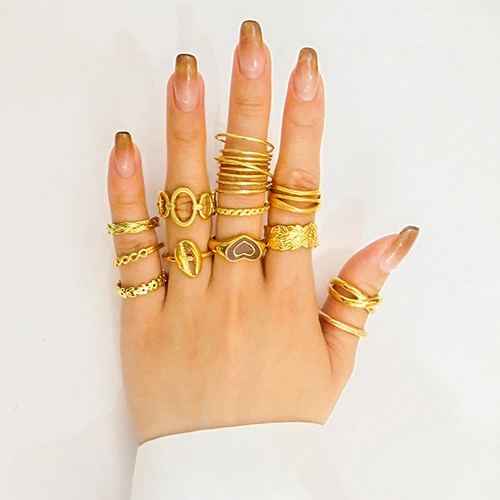
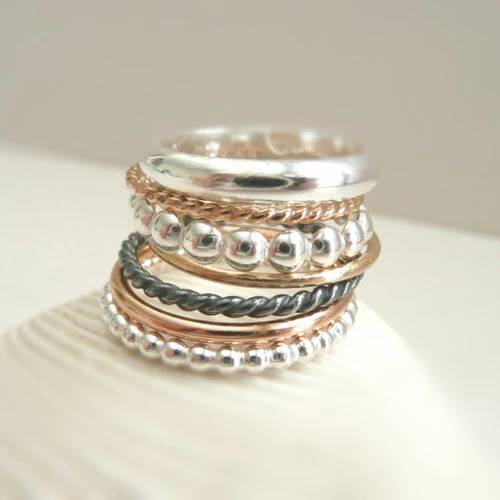
Step 4: Select Complementary Metals and Colors
Mixing Metals: Yes, But Strategically
Mixing metals in ring stacking is absolutely on the table — in fact, it can look stunning. But there’s a right way and a wrong way to do it. The general approach is to choose one primary metal color and one secondary accent color. So you might build a stack that’s mostly yellow gold with a single white gold or silver band threading through for contrast. That reads intentional. Going full rainbow across five different metal tones? That reads like you got dressed in the dark.
Here’s the critical part that most people don’t know: never stack different gold purities directly against each other. For example, placing 14k gold next to 18k gold is a recipe for scratches. 18k gold is softer than 14k, so the harder metal will literally scratch the softer one over time. It’s a slow, sad, expensive disaster.
Keep these metal pairing tips in mind:
- Yellow gold + rose gold = warm and romantic, always works
- White gold + yellow gold = classic two-tone contrast
- Silver + white gold = subtle and clean (just note the hardness difference)
- Avoid: 14k next to 18k, platinum next to soft gold (platinum is extremely hard)
When in doubt, stick to one metal family and use texture and design variation to create visual interest instead.
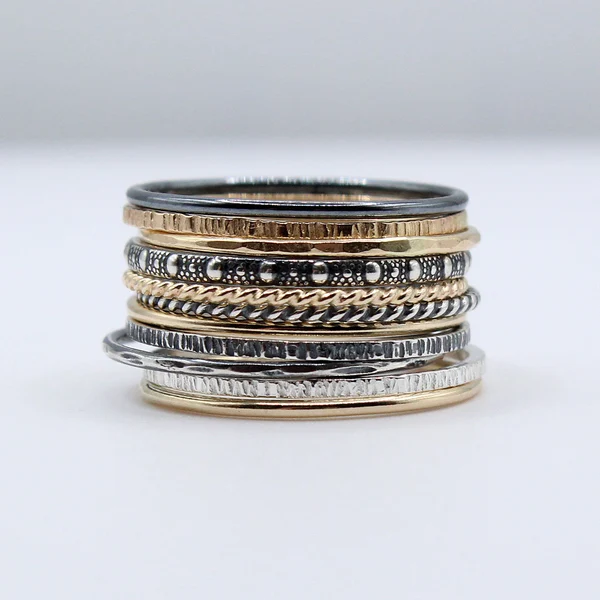
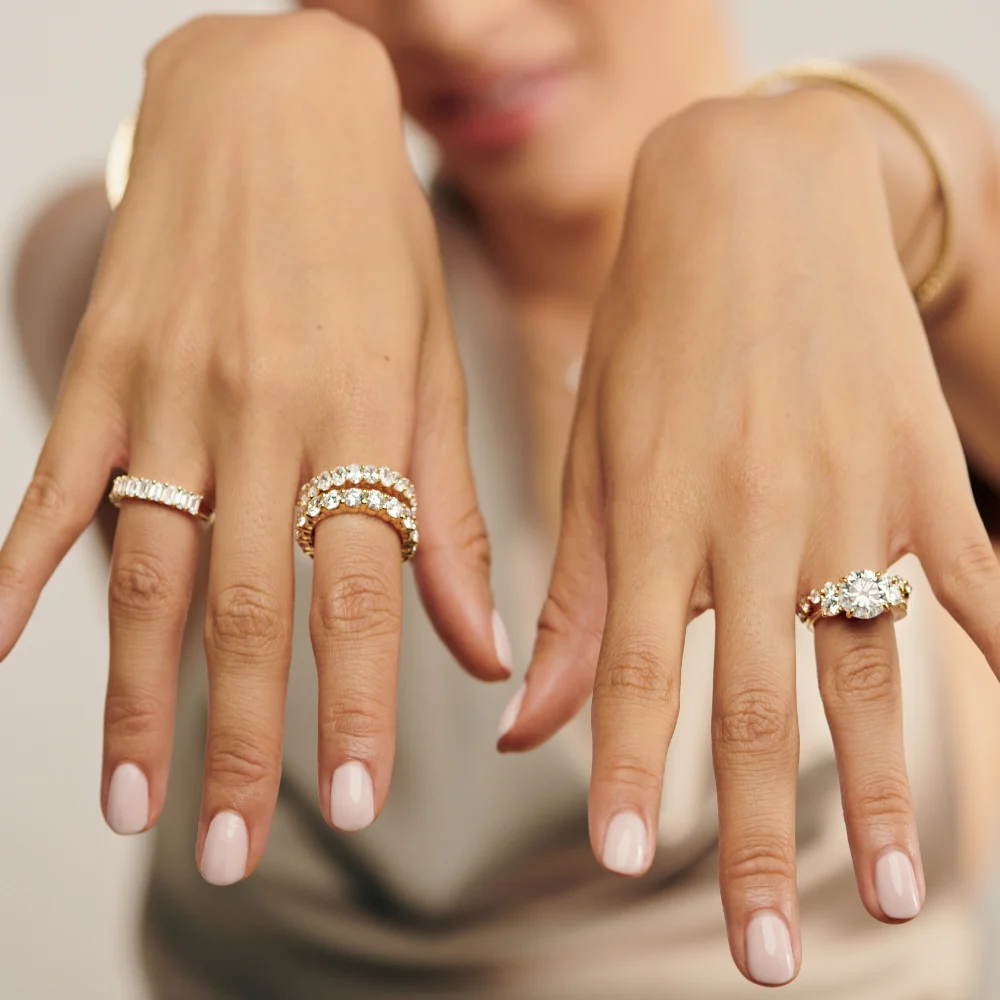
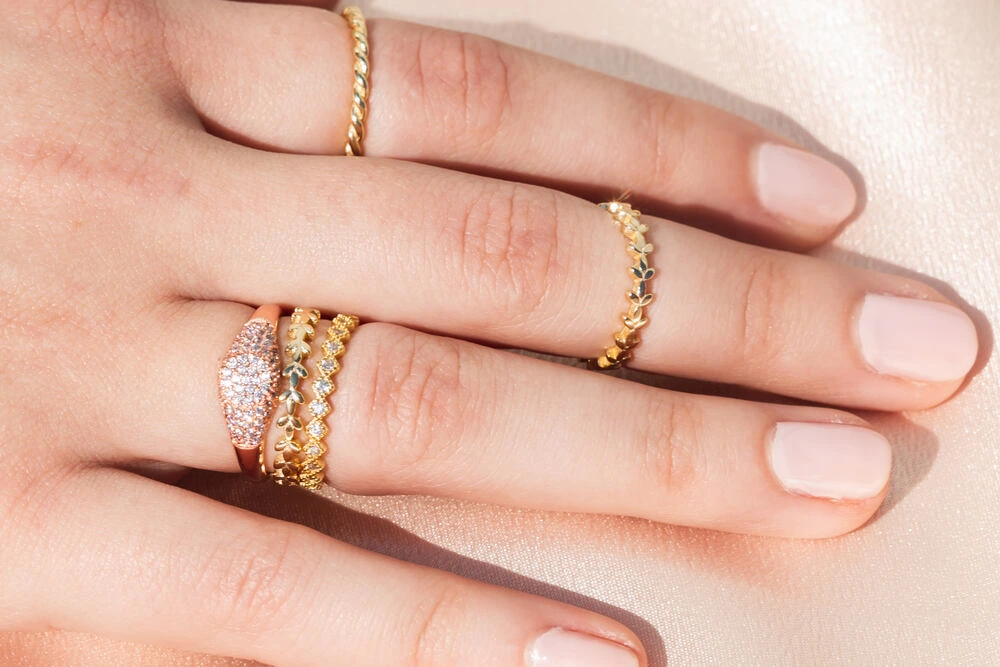
Step 5: Consider Design and Style
Variety Is the Spice of Ring Stacking
This is the fun part — and also where a lot of people overthink it. The secret to a visually dynamic ring stack is variety in bandwidth, texture, and design, not necessarily in shape or color.
Think about layering:
- A slim, plain band (1–2mm)
- A mid-width textured or twisted band (2–3mm)
- A statement band with stones or an interesting shape (3mm+)
That combination of thin, medium, and bold creates visual rhythm. Your eye moves through the stack rather than getting stuck on one ring.
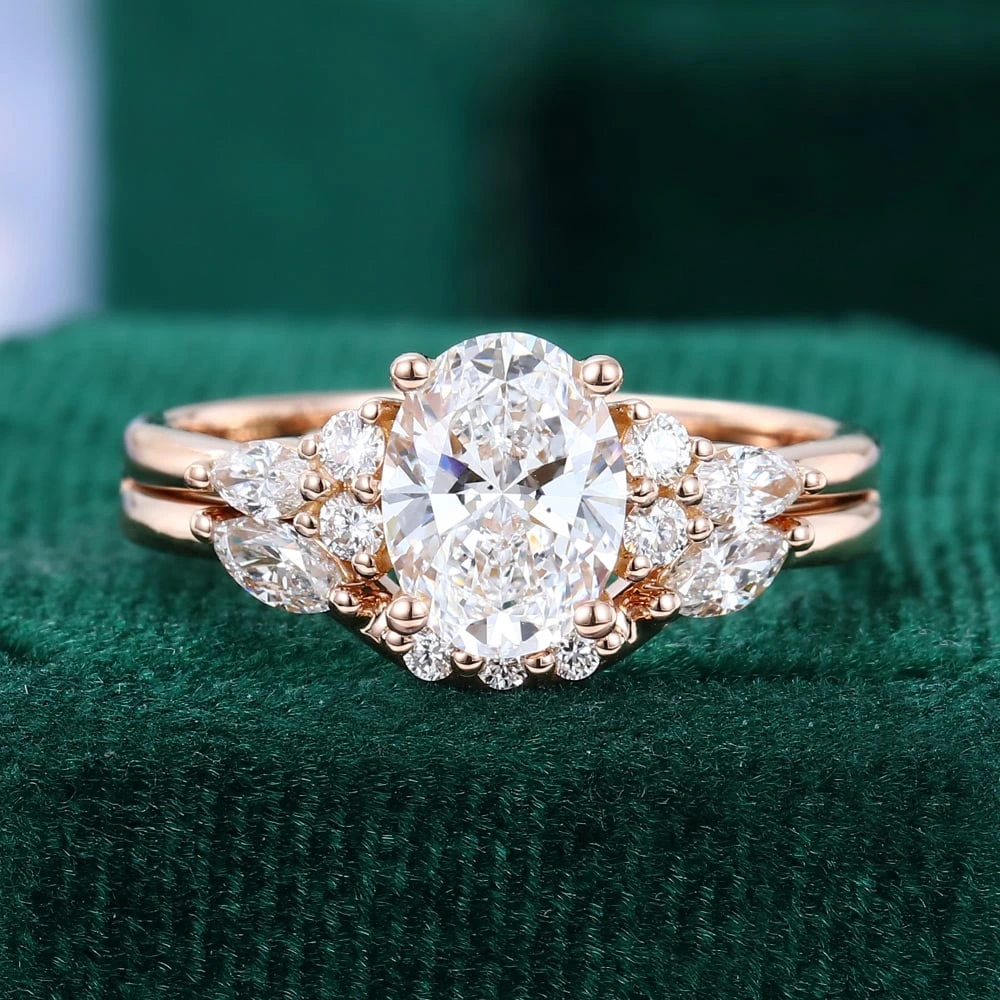
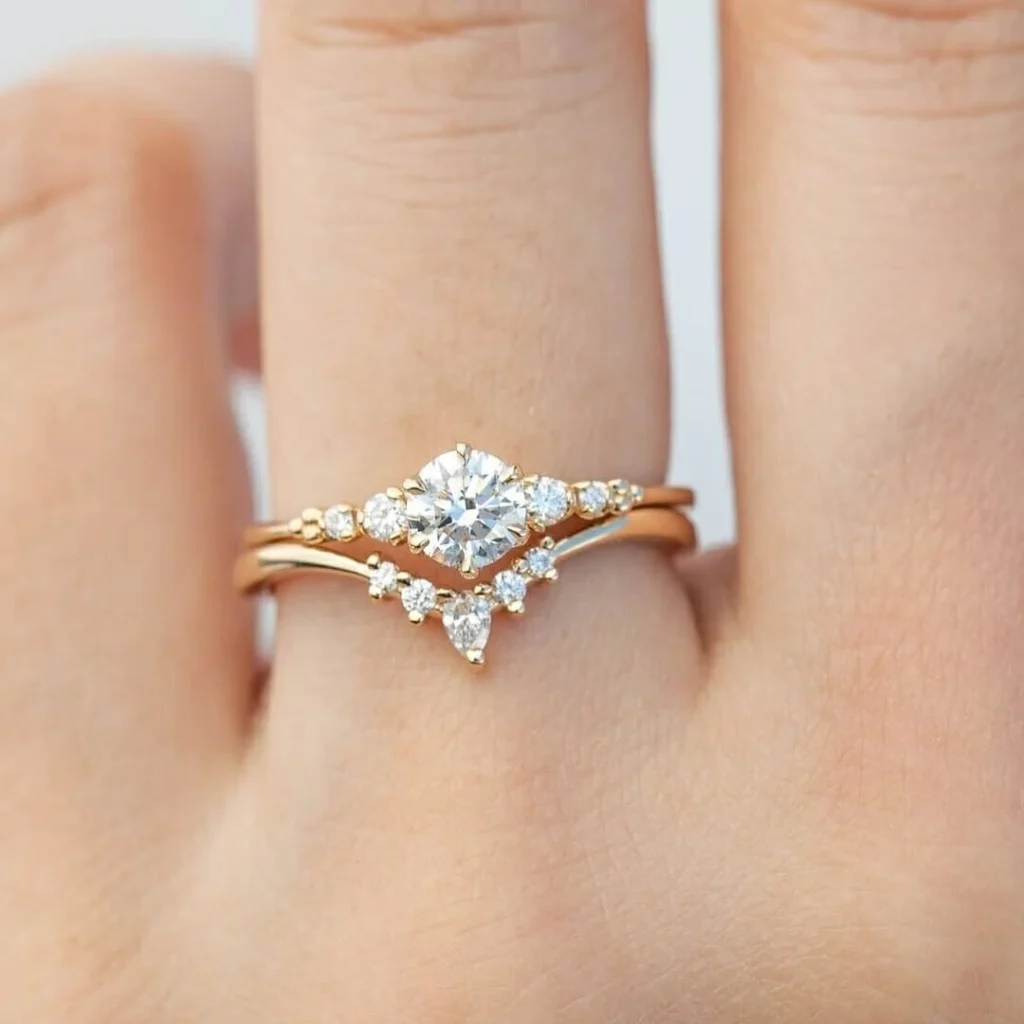
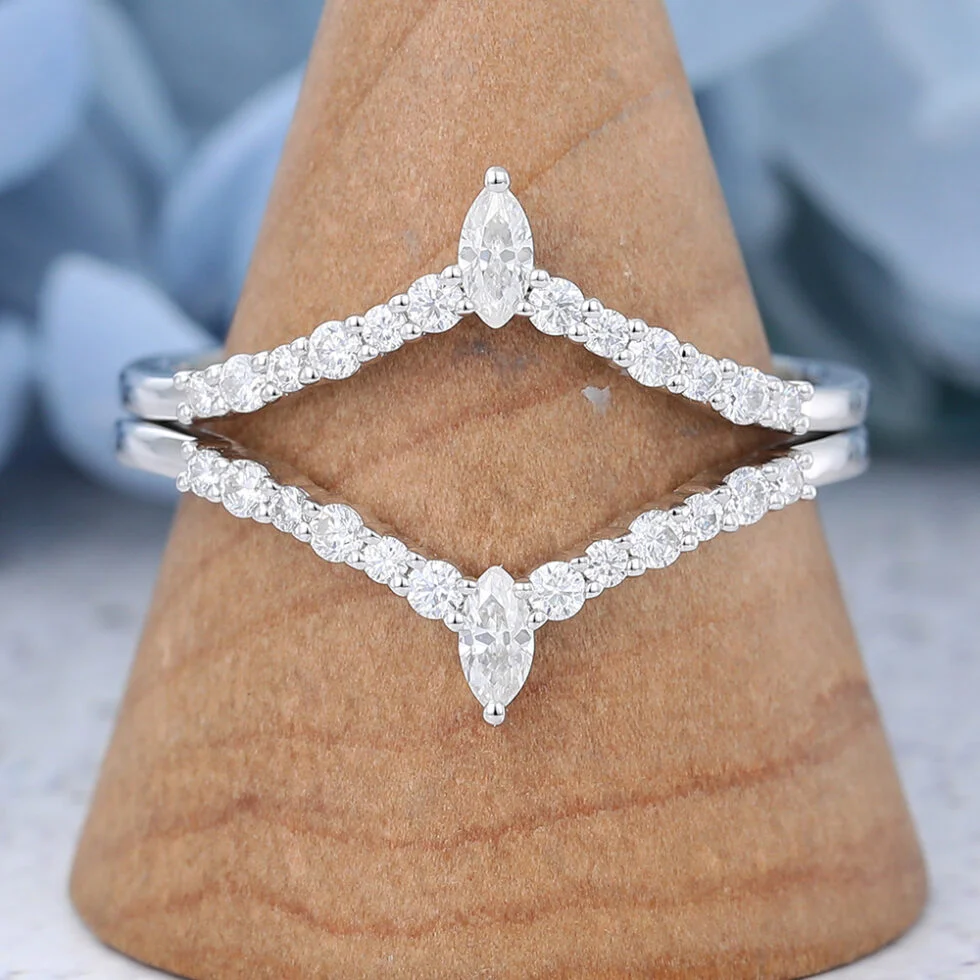
Curved or contoured bands — sometimes called “crown bands” or “chevron bands” — are a game-changer for ring stacking. These bands arch slightly to nestle perfectly above or below a center stone ring, filling in gaps and giving the stack a tailored, intentional look. If you have a solitaire engagement ring, adding a curved band on each side transforms a single ring into a sophisticated three-piece stack instantly.
When it comes to diamond shapes, the options are genuinely vast. Round, oval, pear, marquise, emerald, cushion, hexagonal — each shape creates a completely different energy. Mixing a round brilliant with a baguette side band, for instance, creates beautiful contrast between the soft sparkle and the sleek step-cut geometry.
Step 6: Position Rings Using the “Triangle Method”
The Secret to Looking Intentional
Okay, this is honestly the step that separates people who know ring stacking from people who just wear a lot of rings. The Triangle Method is a positioning strategy for how your stacks relate to each other across your hand.
Here’s how it works: when you look at your hand straight on, your ring stacks should form a triangular shape in terms of height. That means:
- Option A — Tall stack in the center finger, flanked by shorter stacks on the index and ring fingers. The eye travels to the peak in the middle.
- Option B — Shorter stack in the center, taller stacks on either side. Creates a more dramatic, crown-like effect.
Both options create visual balance. What they both avoid is the worst-case scenario: stacks of equal height across every finger, which looks accidental and flat. The Triangle Method makes your ring stacking look deliberate, like someone actually thought about it — because you did.
A few quick positioning notes:
- Leave at least one finger bare between stacked fingers whenever possible — negative space is your friend
- Your pinky can handle one bold ring on its own, no stack needed, as a deliberate punctuation mark
- Avoid stacking on your thumb unless you’re specifically going for an editorial, high-fashion look — it can overwhelm the rest of your hand


Putting It All Together
So there you have it. Ring stacking isn’t just about owning a lot of rings — it’s about making intentional choices at every step:
- Decide your balance — how many rings, on which fingers, in what arrangement
- Get your sizing right — size up for wider bands, always try the full stack on
- Anchor with a theme — pick a base ring and build a cohesive story around it
- Choose metals wisely — one primary, one accent, never mix purities side-by-side
- Vary your design elements — mix bandwidths, textures, and stone shapes for visual rhythm
- Use the Triangle Method — position stacks to create intentional visual balance across your hand
Ring stacking is one of those rare jewelry skills where a little knowledge goes a genuinely long way. Once you understand these fundamentals, you’ll start looking at every ring as a potential layer in a larger composition. And honestly? That’s a pretty great way to think about jewelry.
Now go look at your ring collection with fresh eyes. Guaranteed you’ll start seeing stacks you never noticed before. :/
Whether you’re building your first stack or refining a collection you’ve worn for years, these six steps give you the foundation to wear multiple rings with confidence, intention, and a whole lot of style.